Most recent
ASTM E3125-17
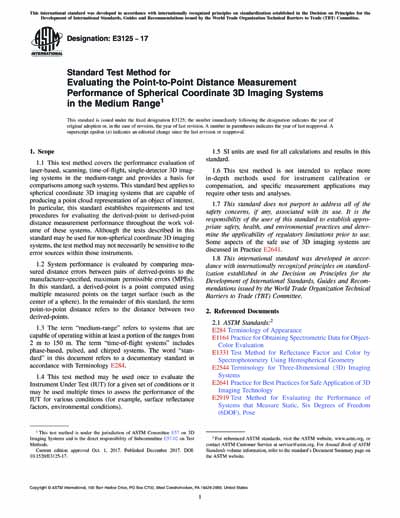
Standard Test Method for Evaluating the Point-to-Point Distance Measurement Performance of Spherical Coordinate 3D Imaging Systems in the Medium Range
1.1 This test method covers the performance evaluation of laser-based, scanning, time-of-flight, single-detector 3D imaging systems in the medium-range and provides a basis for comparisons among such systems. This standard best applies to spherical coordinate 3D imaging systems that are capable of producing a point cloud representation of an object of interest. In particular, this standard establishes requirements and test procedures for evaluating the derived-point to derived-point distance measurement performance throughout the work volume of these systems. Although the tests described in this standard may be used for non-spherical coordinate 3D imaging systems, the test method may not necessarily be sensitive to the error sources within those instruments.
1.2 System performance is evaluated by comparing measured distance errors between pairs of derived-points to the manufacturer-specified, maximum permissible errors (MPEs). In this standard, a derived-point is a point computed using multiple measured points on the target surface (such as the center of a sphere). In the remainder of this standard, the term point-to-point distance refers to the distance between two derived-points.
1.3 The term “medium-range” refers to systems that are capable of operating within at least a portion of the ranges from 2 m to 150 m. The term “time-of-flight systems” includes phase-based, pulsed, and chirped systems. The word “standard” in this document refers to a documentary standard in accordance with Terminology E284.
1.4 This test method may be used once to evaluate the Instrument Under Test (IUT) for a given set of conditions or it may be used multiple times to assess the performance of the IUT for various conditions (for example, surface reflectance factors, environmental conditions).
1.5 SI units are used for all calculations and results in this standard.
1.6 This test method is not intended to replace more in-depth methods used for instrument calibration or compensation, and specific measurement applications may require other tests and analyses.
1.7 This standard does not purport to address all of the safety concerns, if any, associated with its use. It is the responsibility of the user of this standard to establish appropriate safety, health, and environmental practices and determine the applicability of regulatory limitations prior to use. Some aspects of the safe use of 3D imaging systems are discussed in Practice E2641.
1.8 This international standard was developed in accordance with internationally recognized principles on standardization established in the Decision on Principles for the Development of International Standards, Guides and Recommendations issued by the World Trade Organization Technical Barriers to Trade (TBT) Committee.
Content Provider
ASTM International [astm]


